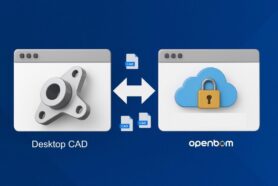
OpenBOM gives an amazing solution for Solidworks users. Think about finishing your dream Solidworks project. You’re almost done with your favorite design and you cannot wait to move it forward to production. It can be a contract manufacturer or just a shopfloor.
In your dream, you would like to push the button and say “Make it”. Well… not so fast. The things will be going ugly because you do need calculate how many parts you need. There is no more painful question than – how many screws you need to make a machine/gadget/equipment.
And as you move forward with these calculations, you realized that you better make a cost rollup and you’re already late and you have no time to calculate all these levels, costs, quantities, etc.
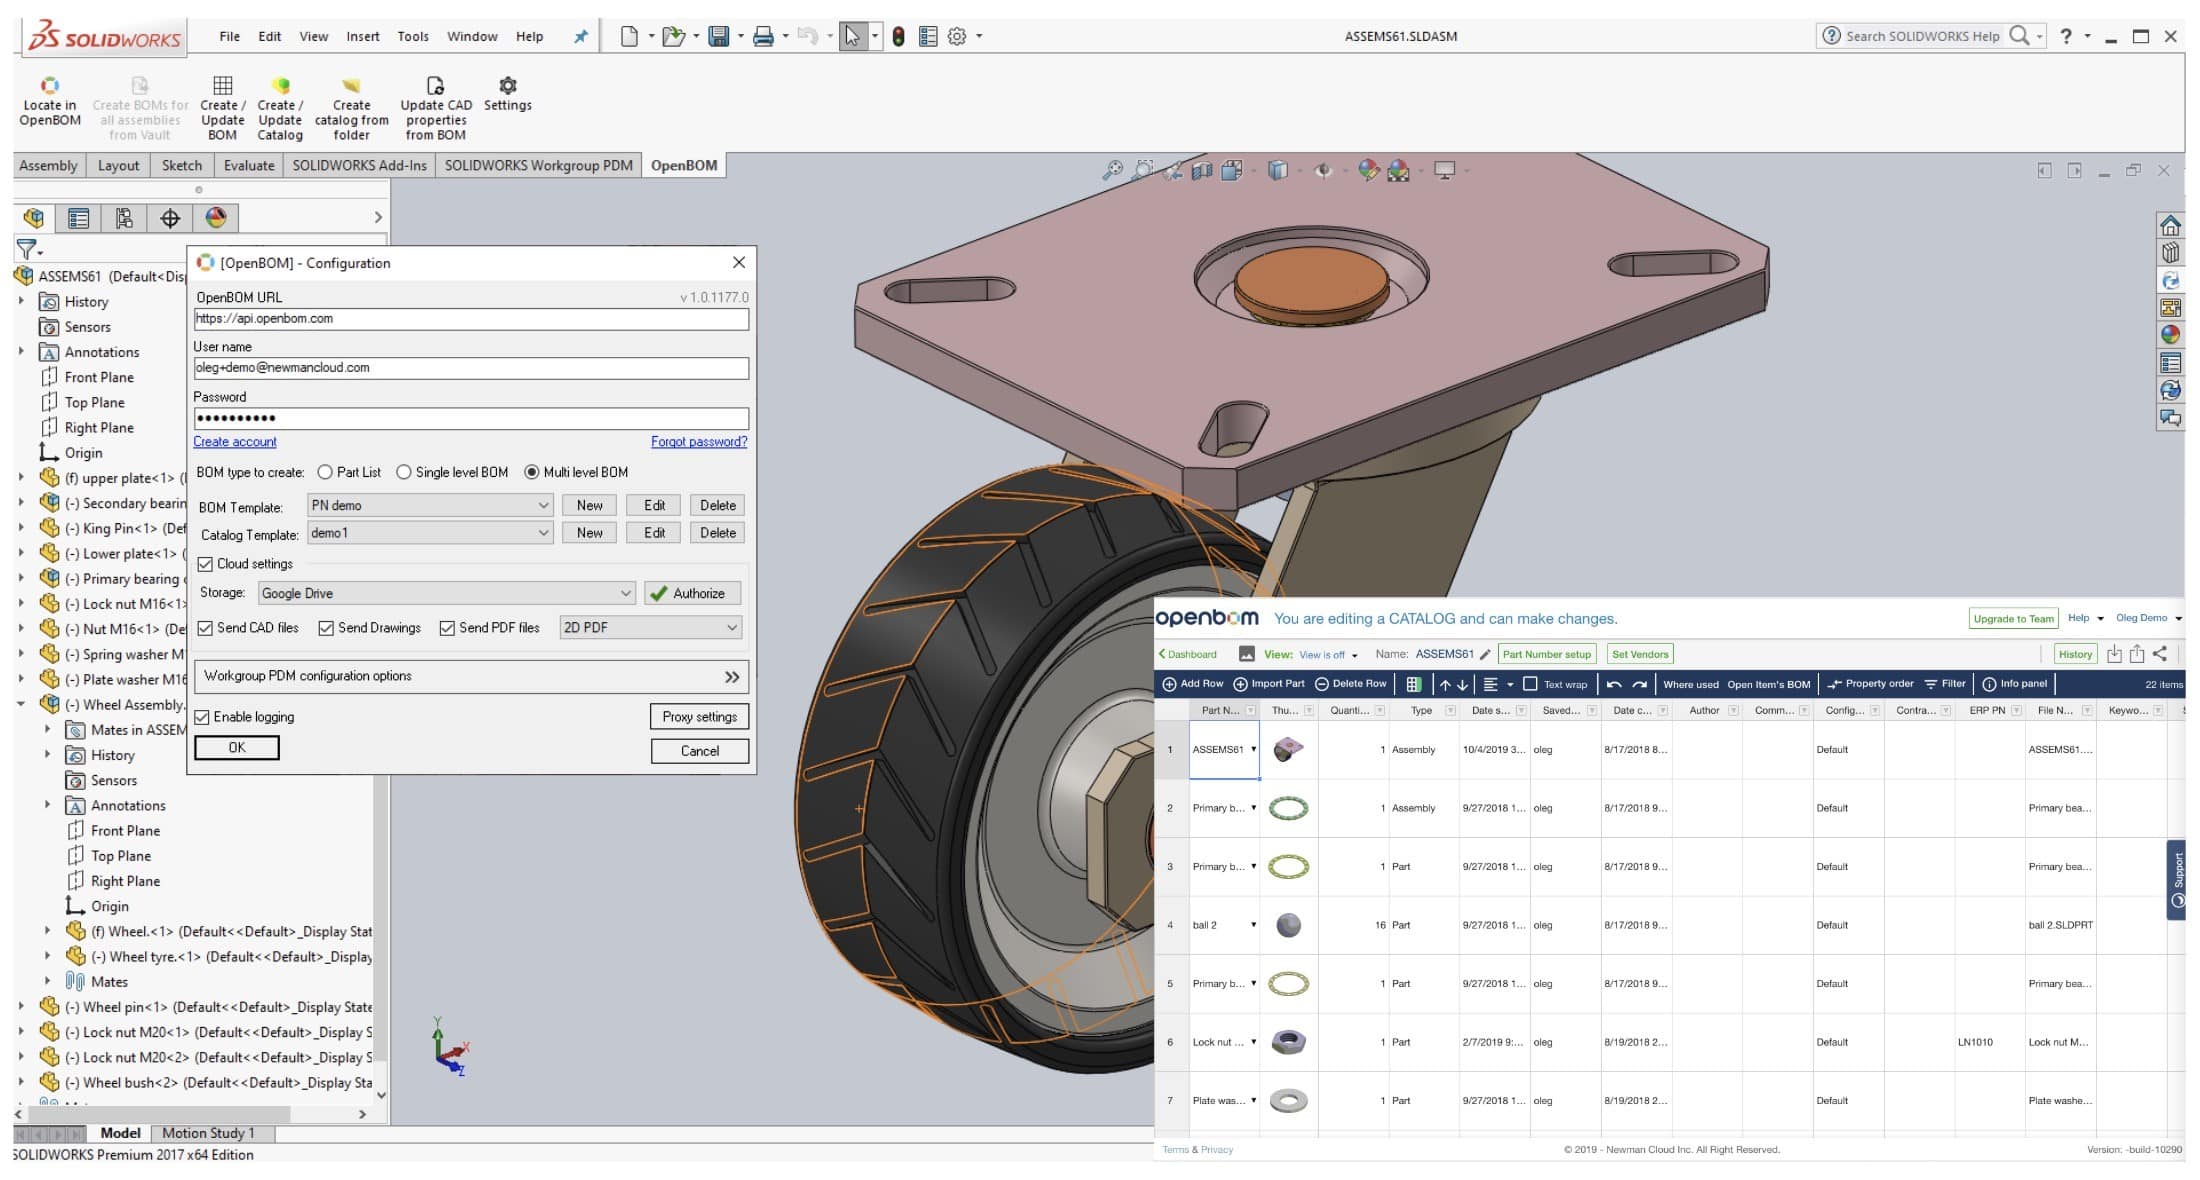
In order not to find you lost in this mess, OpenBOM gives you a great option to solve all these problems in a single click. Navigate to OpenBOM integration dashboard and download OpenBOM Solidworks Add-in. It gives you an automatic way to create BOM for Solidworks assembly, manage cost, mass, suppliers, vendors and finally to make planning and create a purchase order. Learn more about it on openbom.com.
Today, I want to give you 5 steps on how to start using OpenBOM Add-in for Solidworks.
1- Install plug-in and ensure it is up and running
OpenBOM can be installed from the dashboard or from the website page (coming soon)
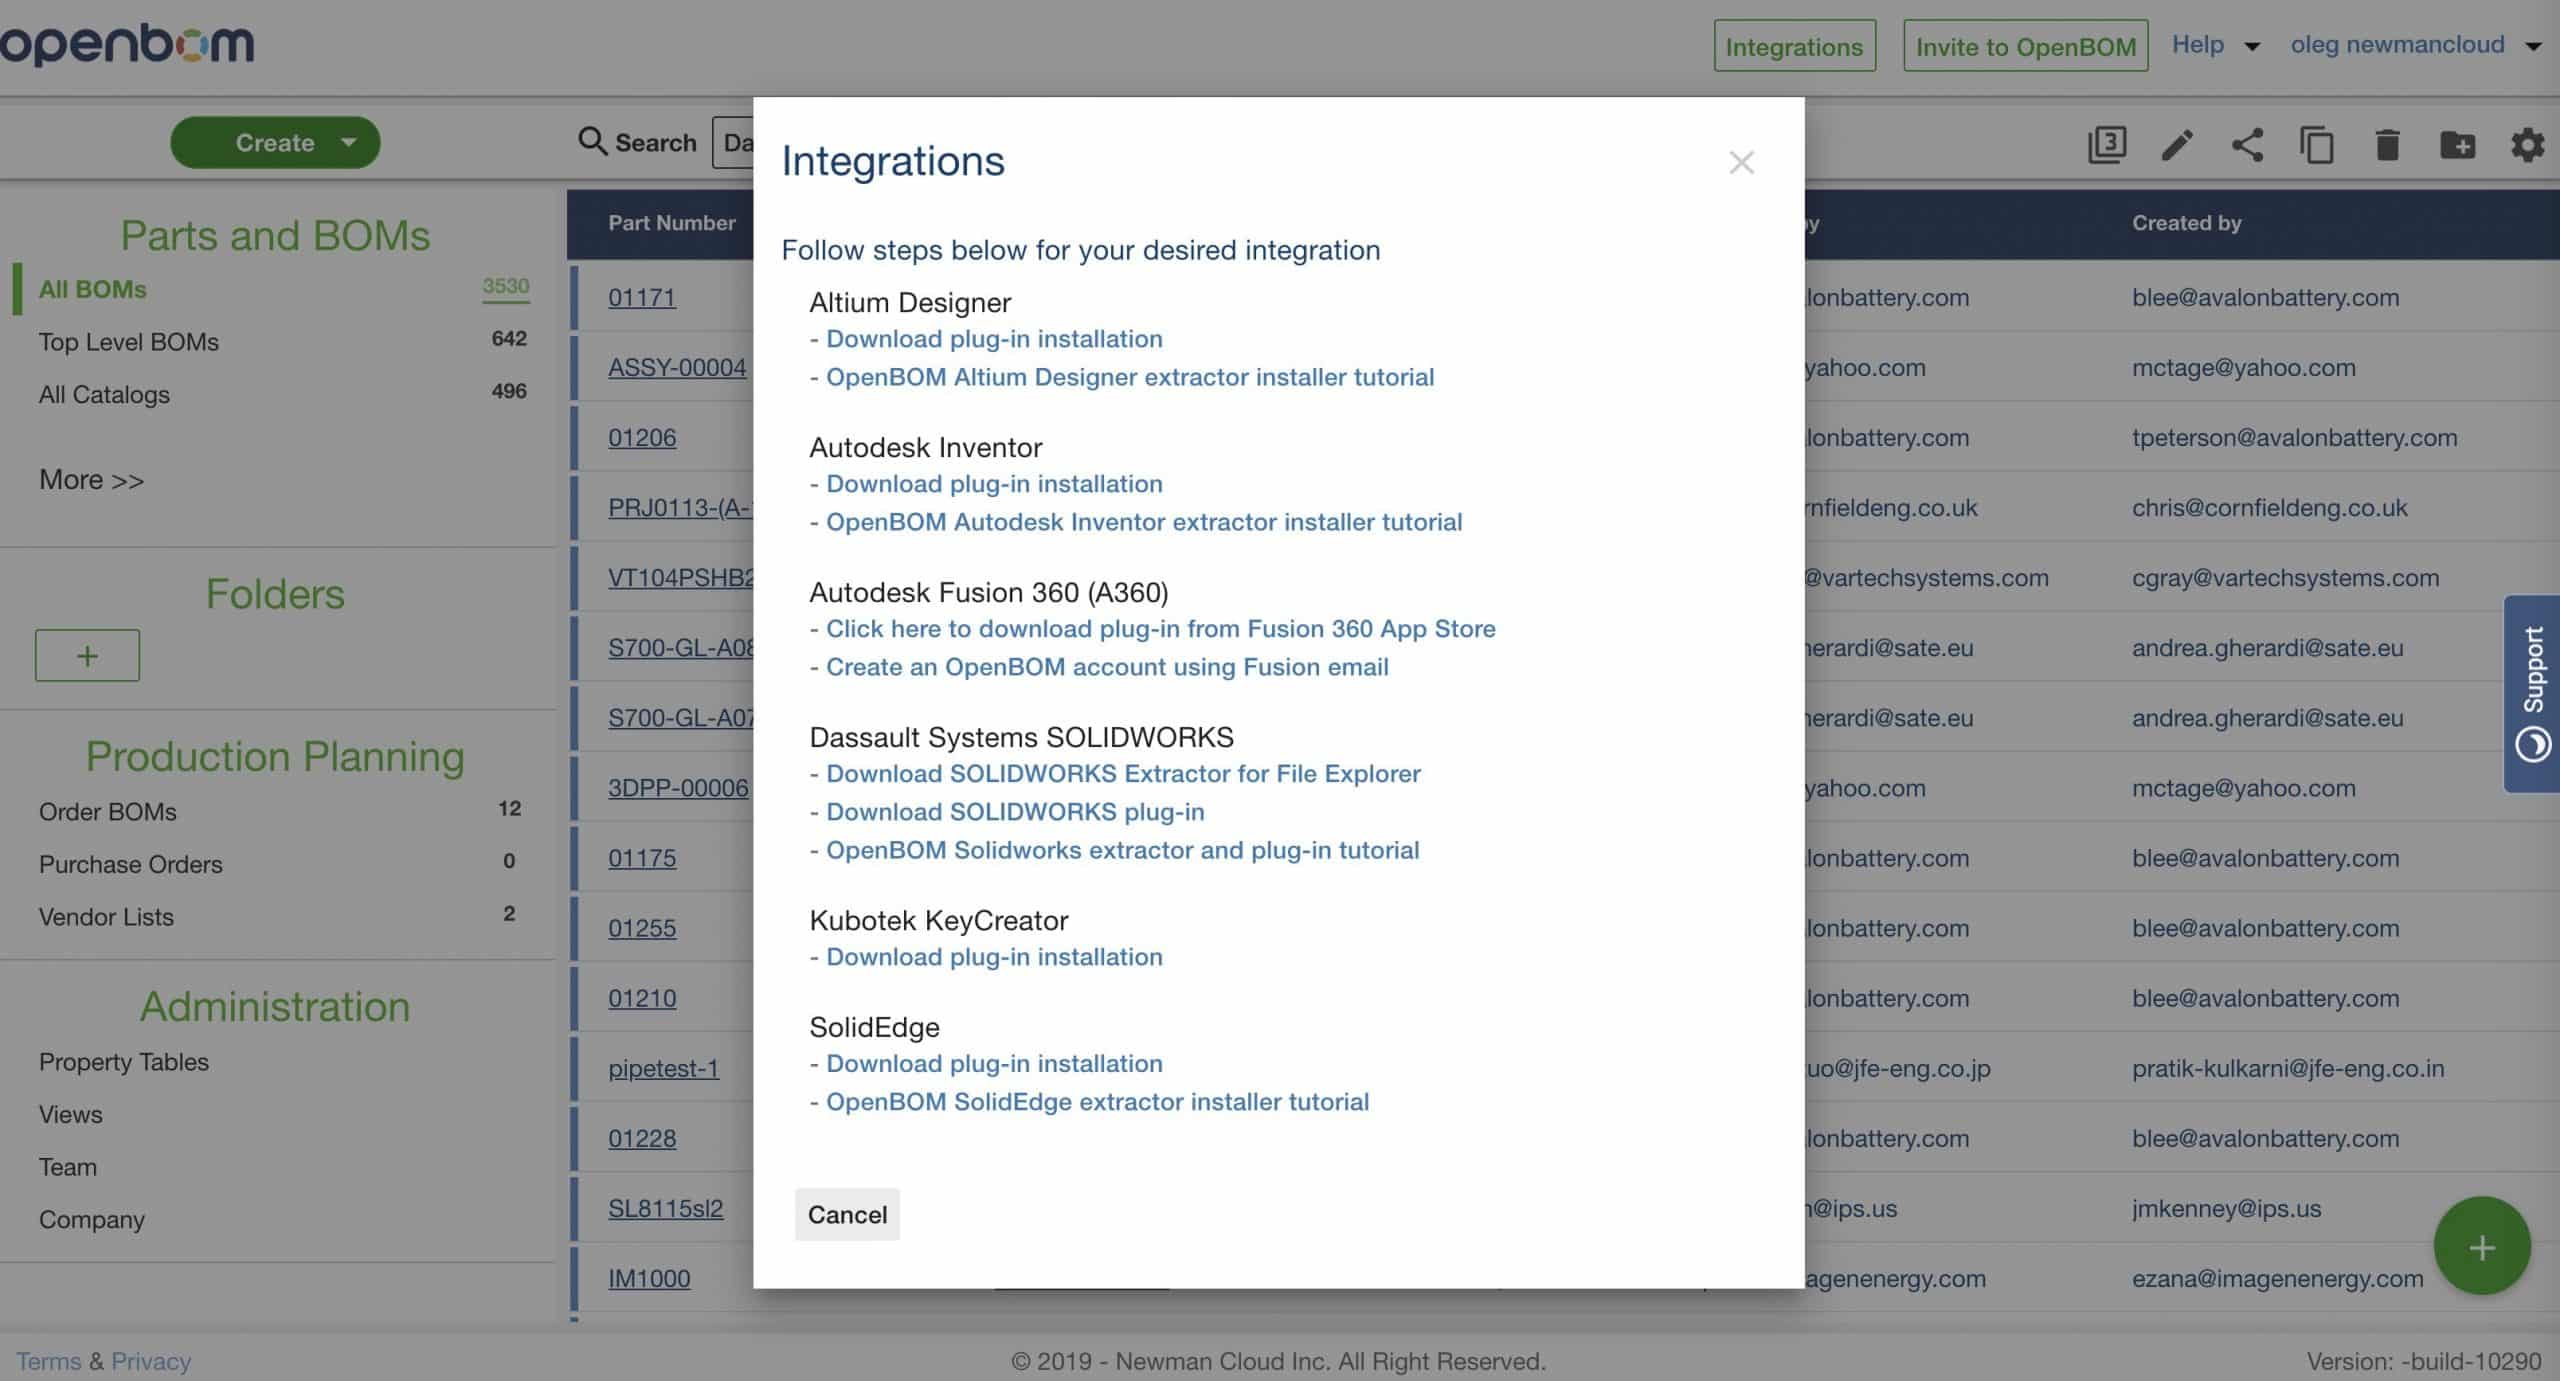
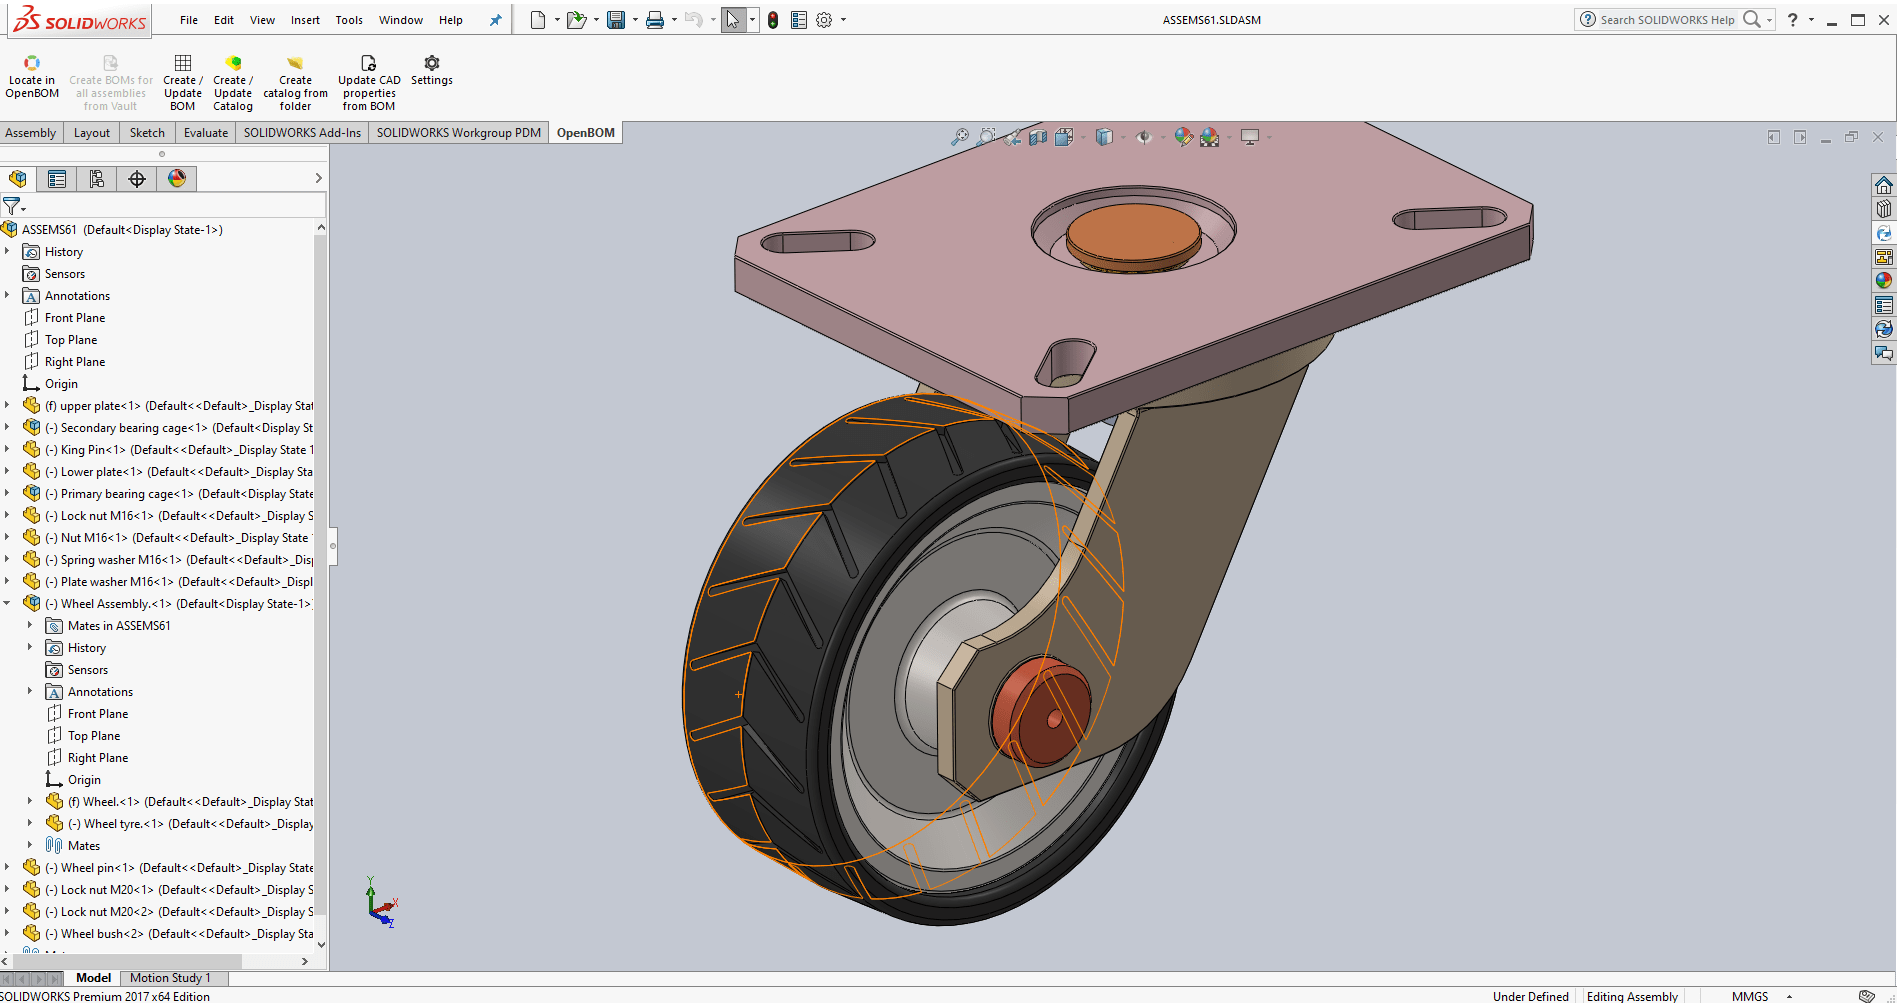
Install OpenBOM add-in. The controls are available when you open Solidworks Assembly.
2- Create Templates.
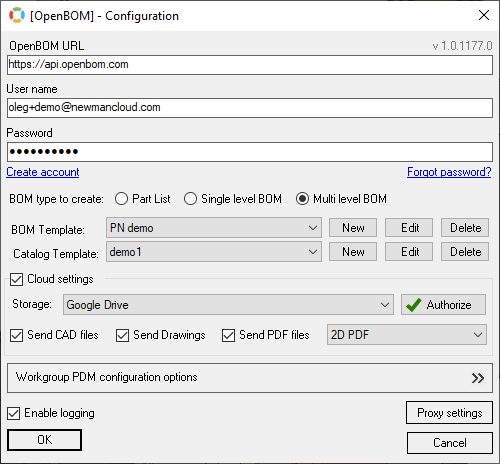
Configure the templates – for BOMs and catalog. Keep them separate. Read OpenBOM data management foundation for more information.
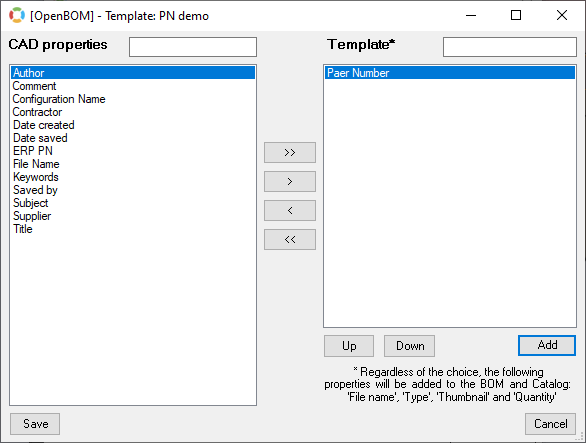
Remember – one template for BOM (you need only include Part Number there) like this one.
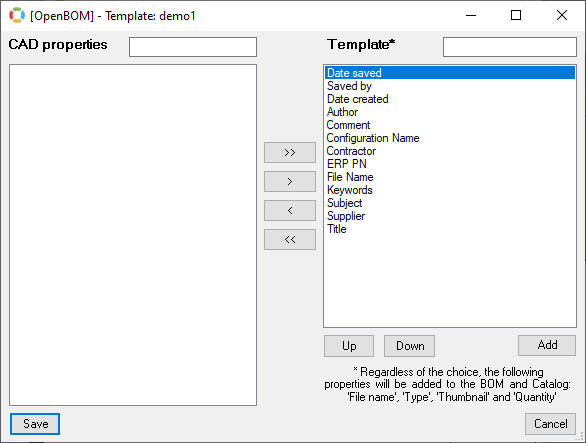
At the same time, don’t include Part Number in the catalog template (it will be added by default)
3- Create a Catalog
Click on Create / Update Catalog to extract the catalog data from all files in the current open assembly.
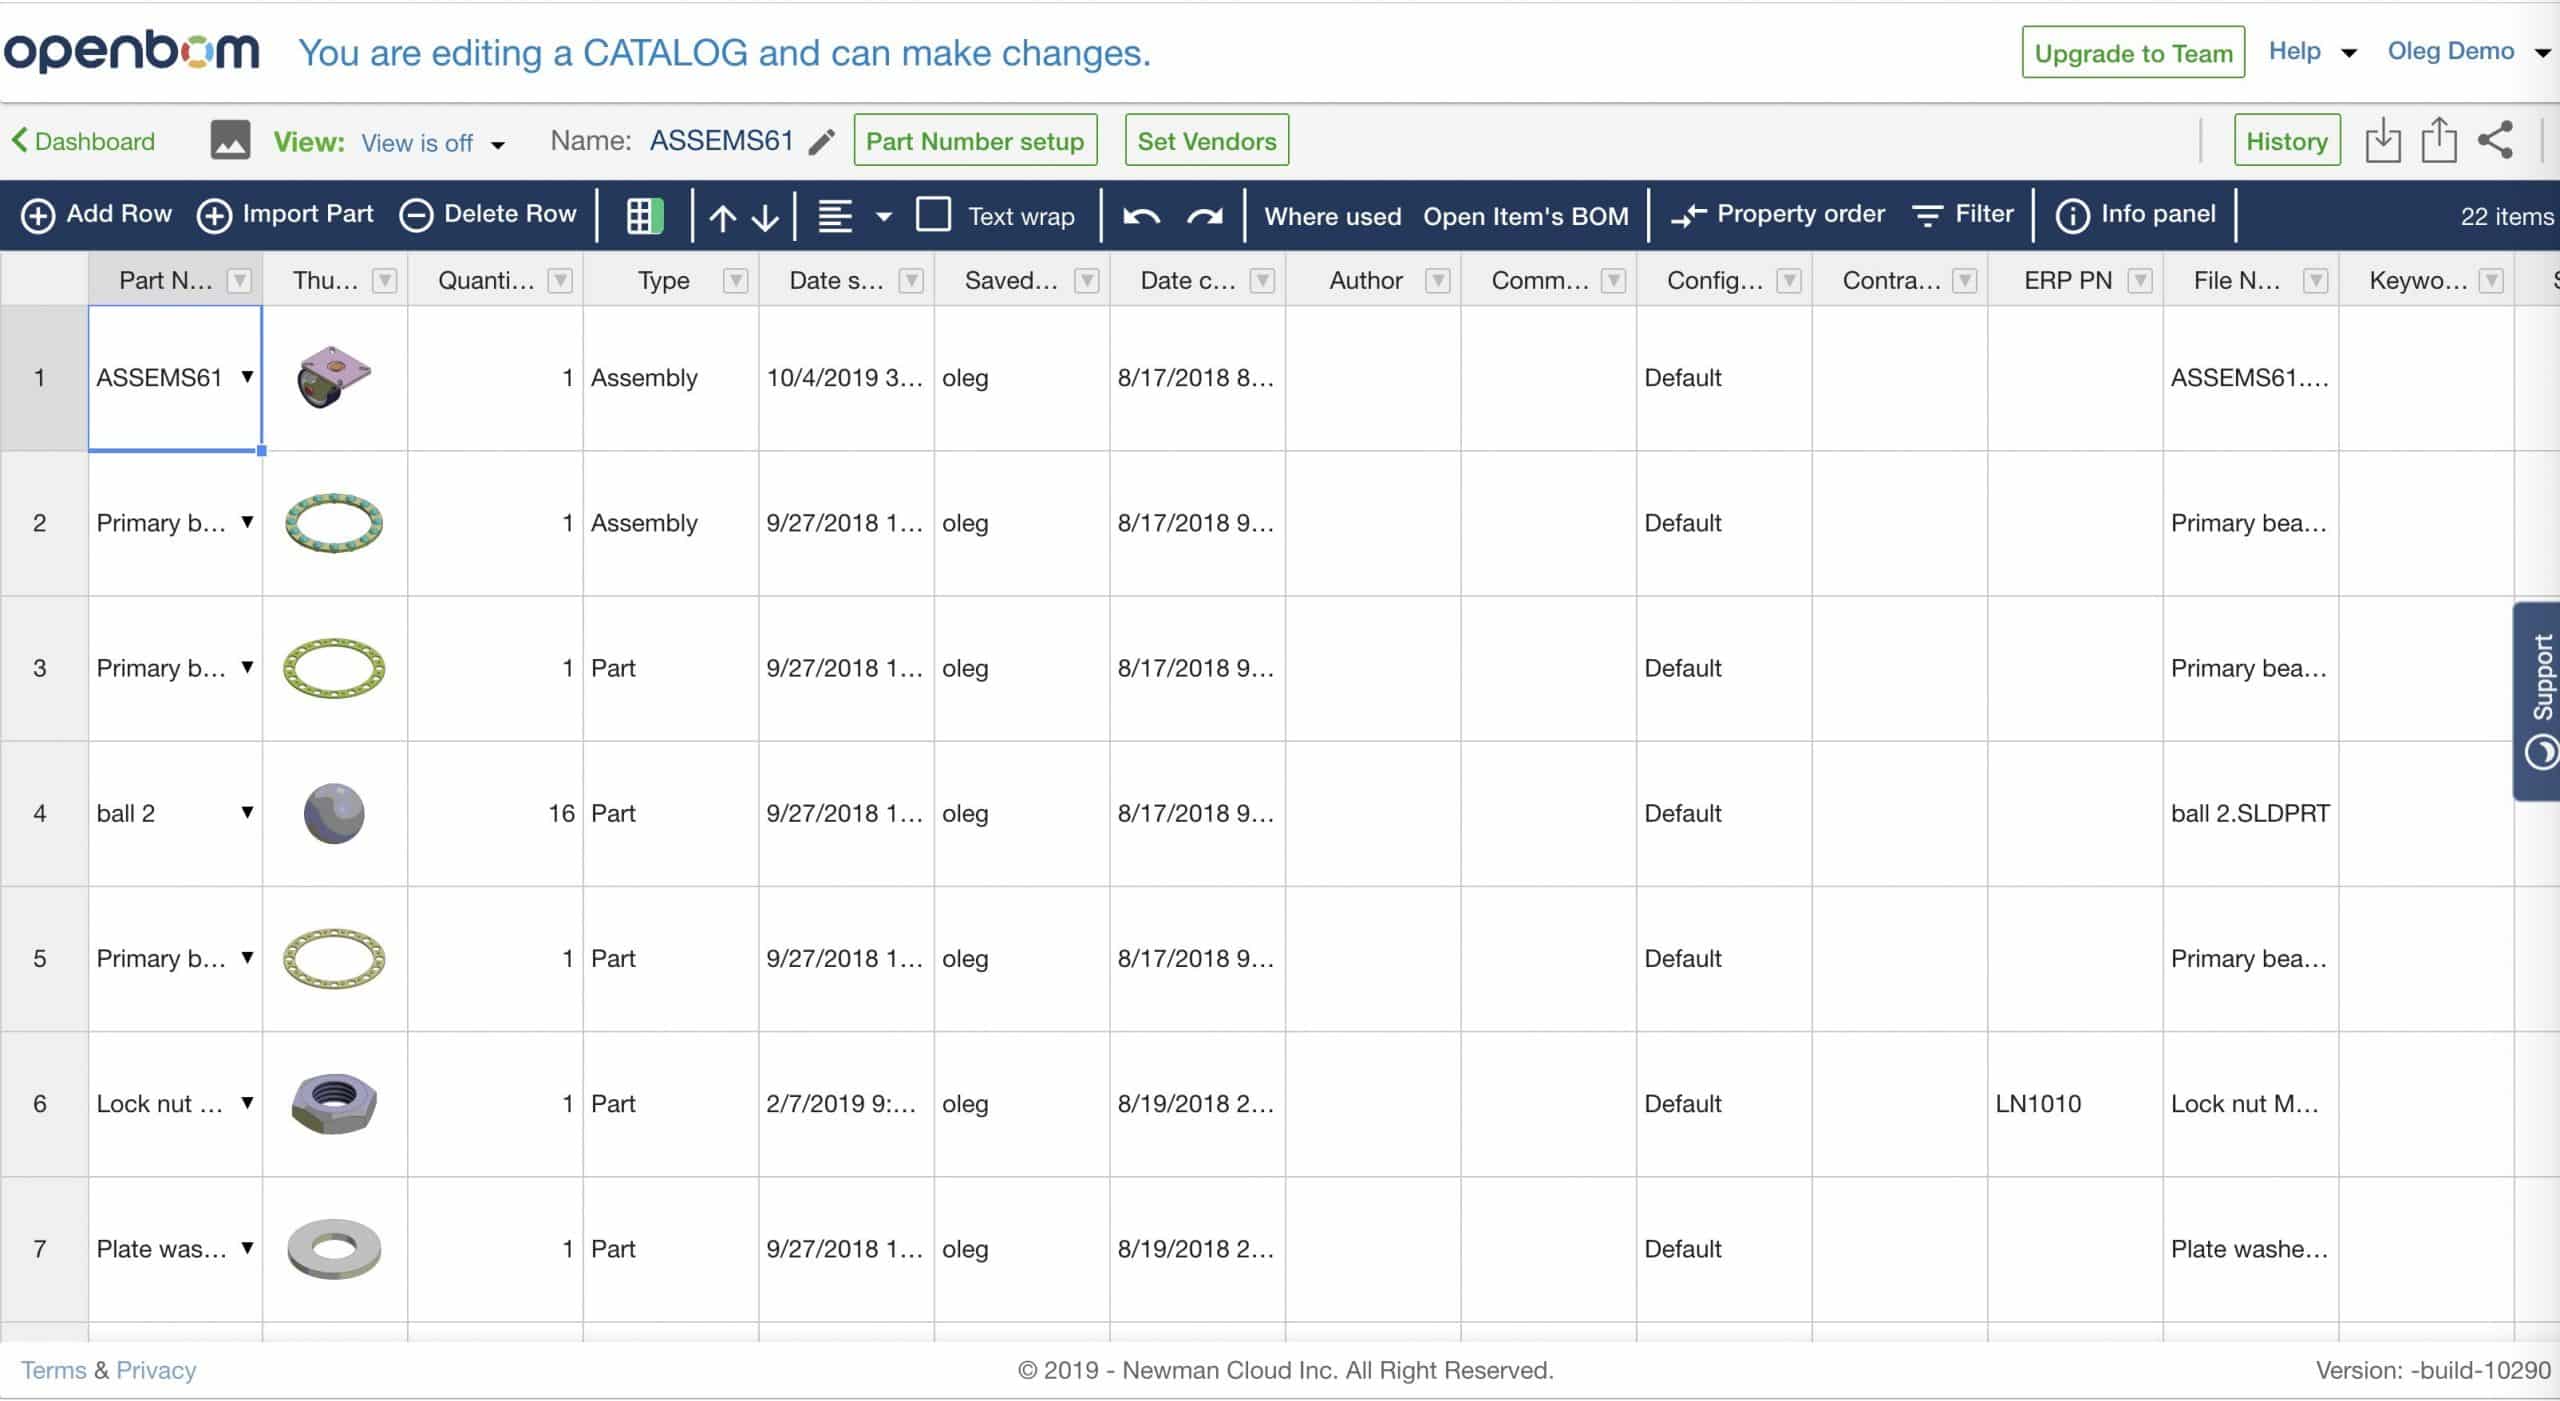
4- Create a BOM
Click on Create / Update BOM to create Bill of Materials data, calculate the quantity and add create multi-level structure if needed.
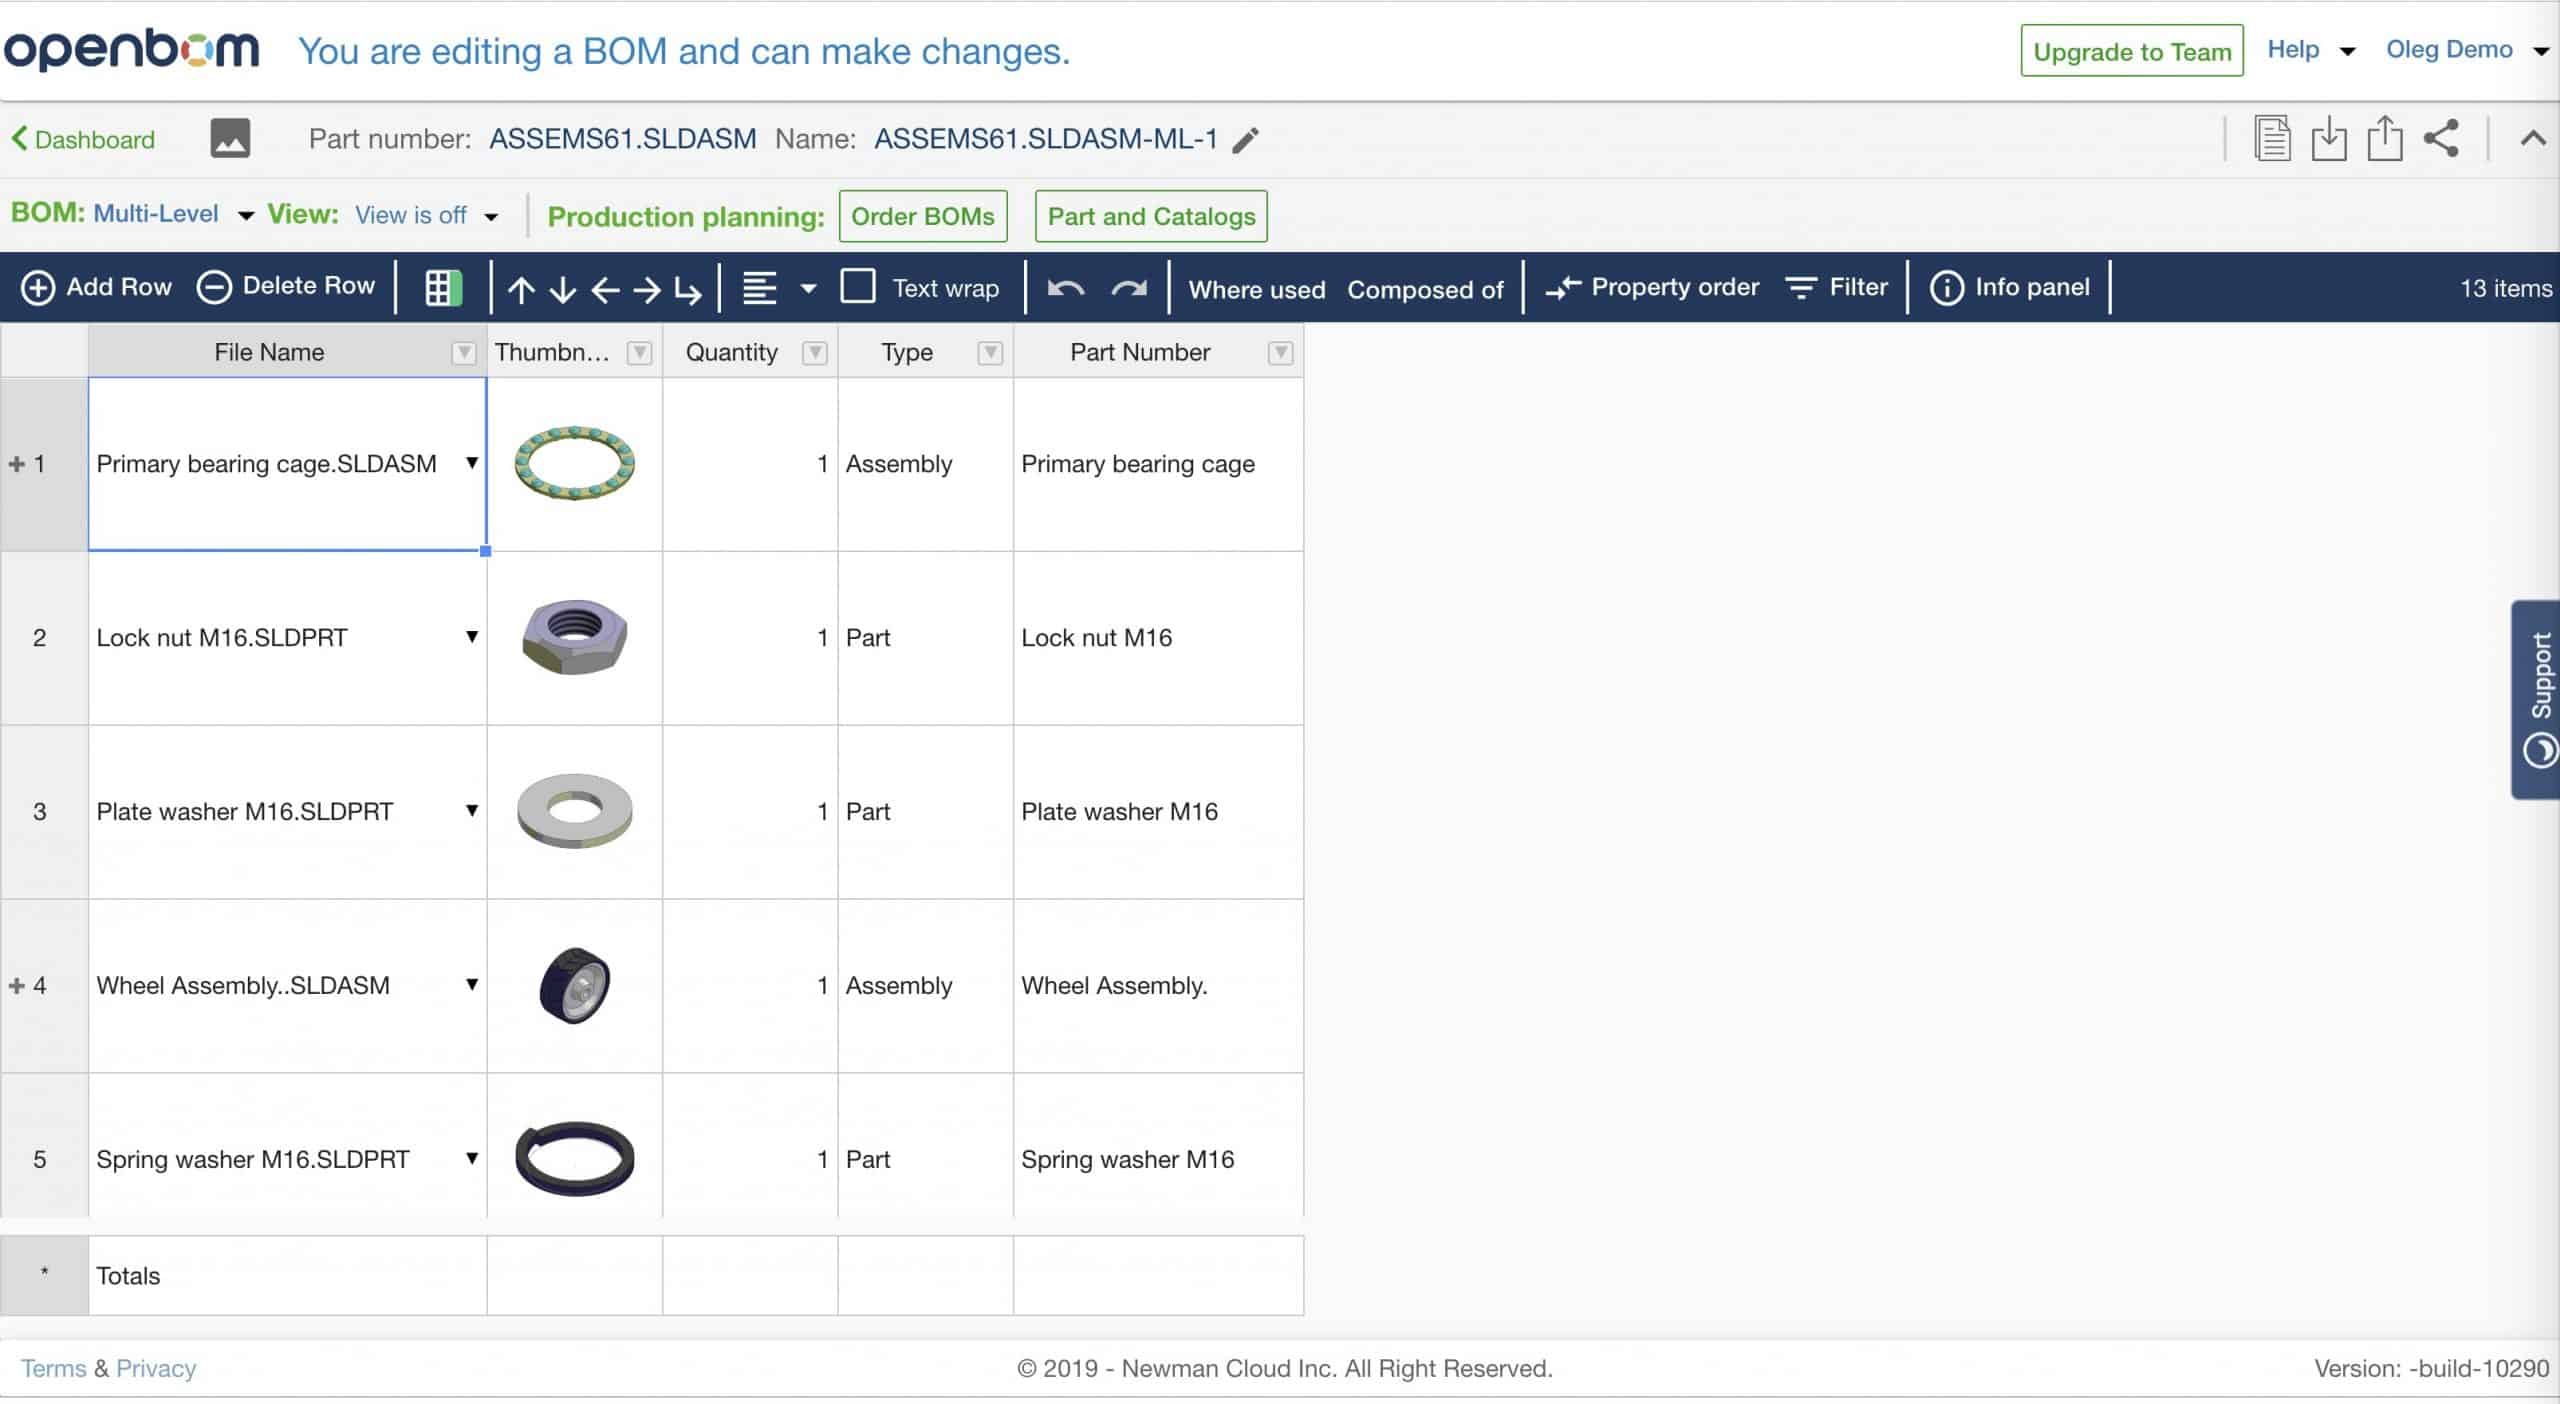
5- Configure BOM to use a specific catalog
Connect catalog you created using OpenBOM Parts and BOMs menu.
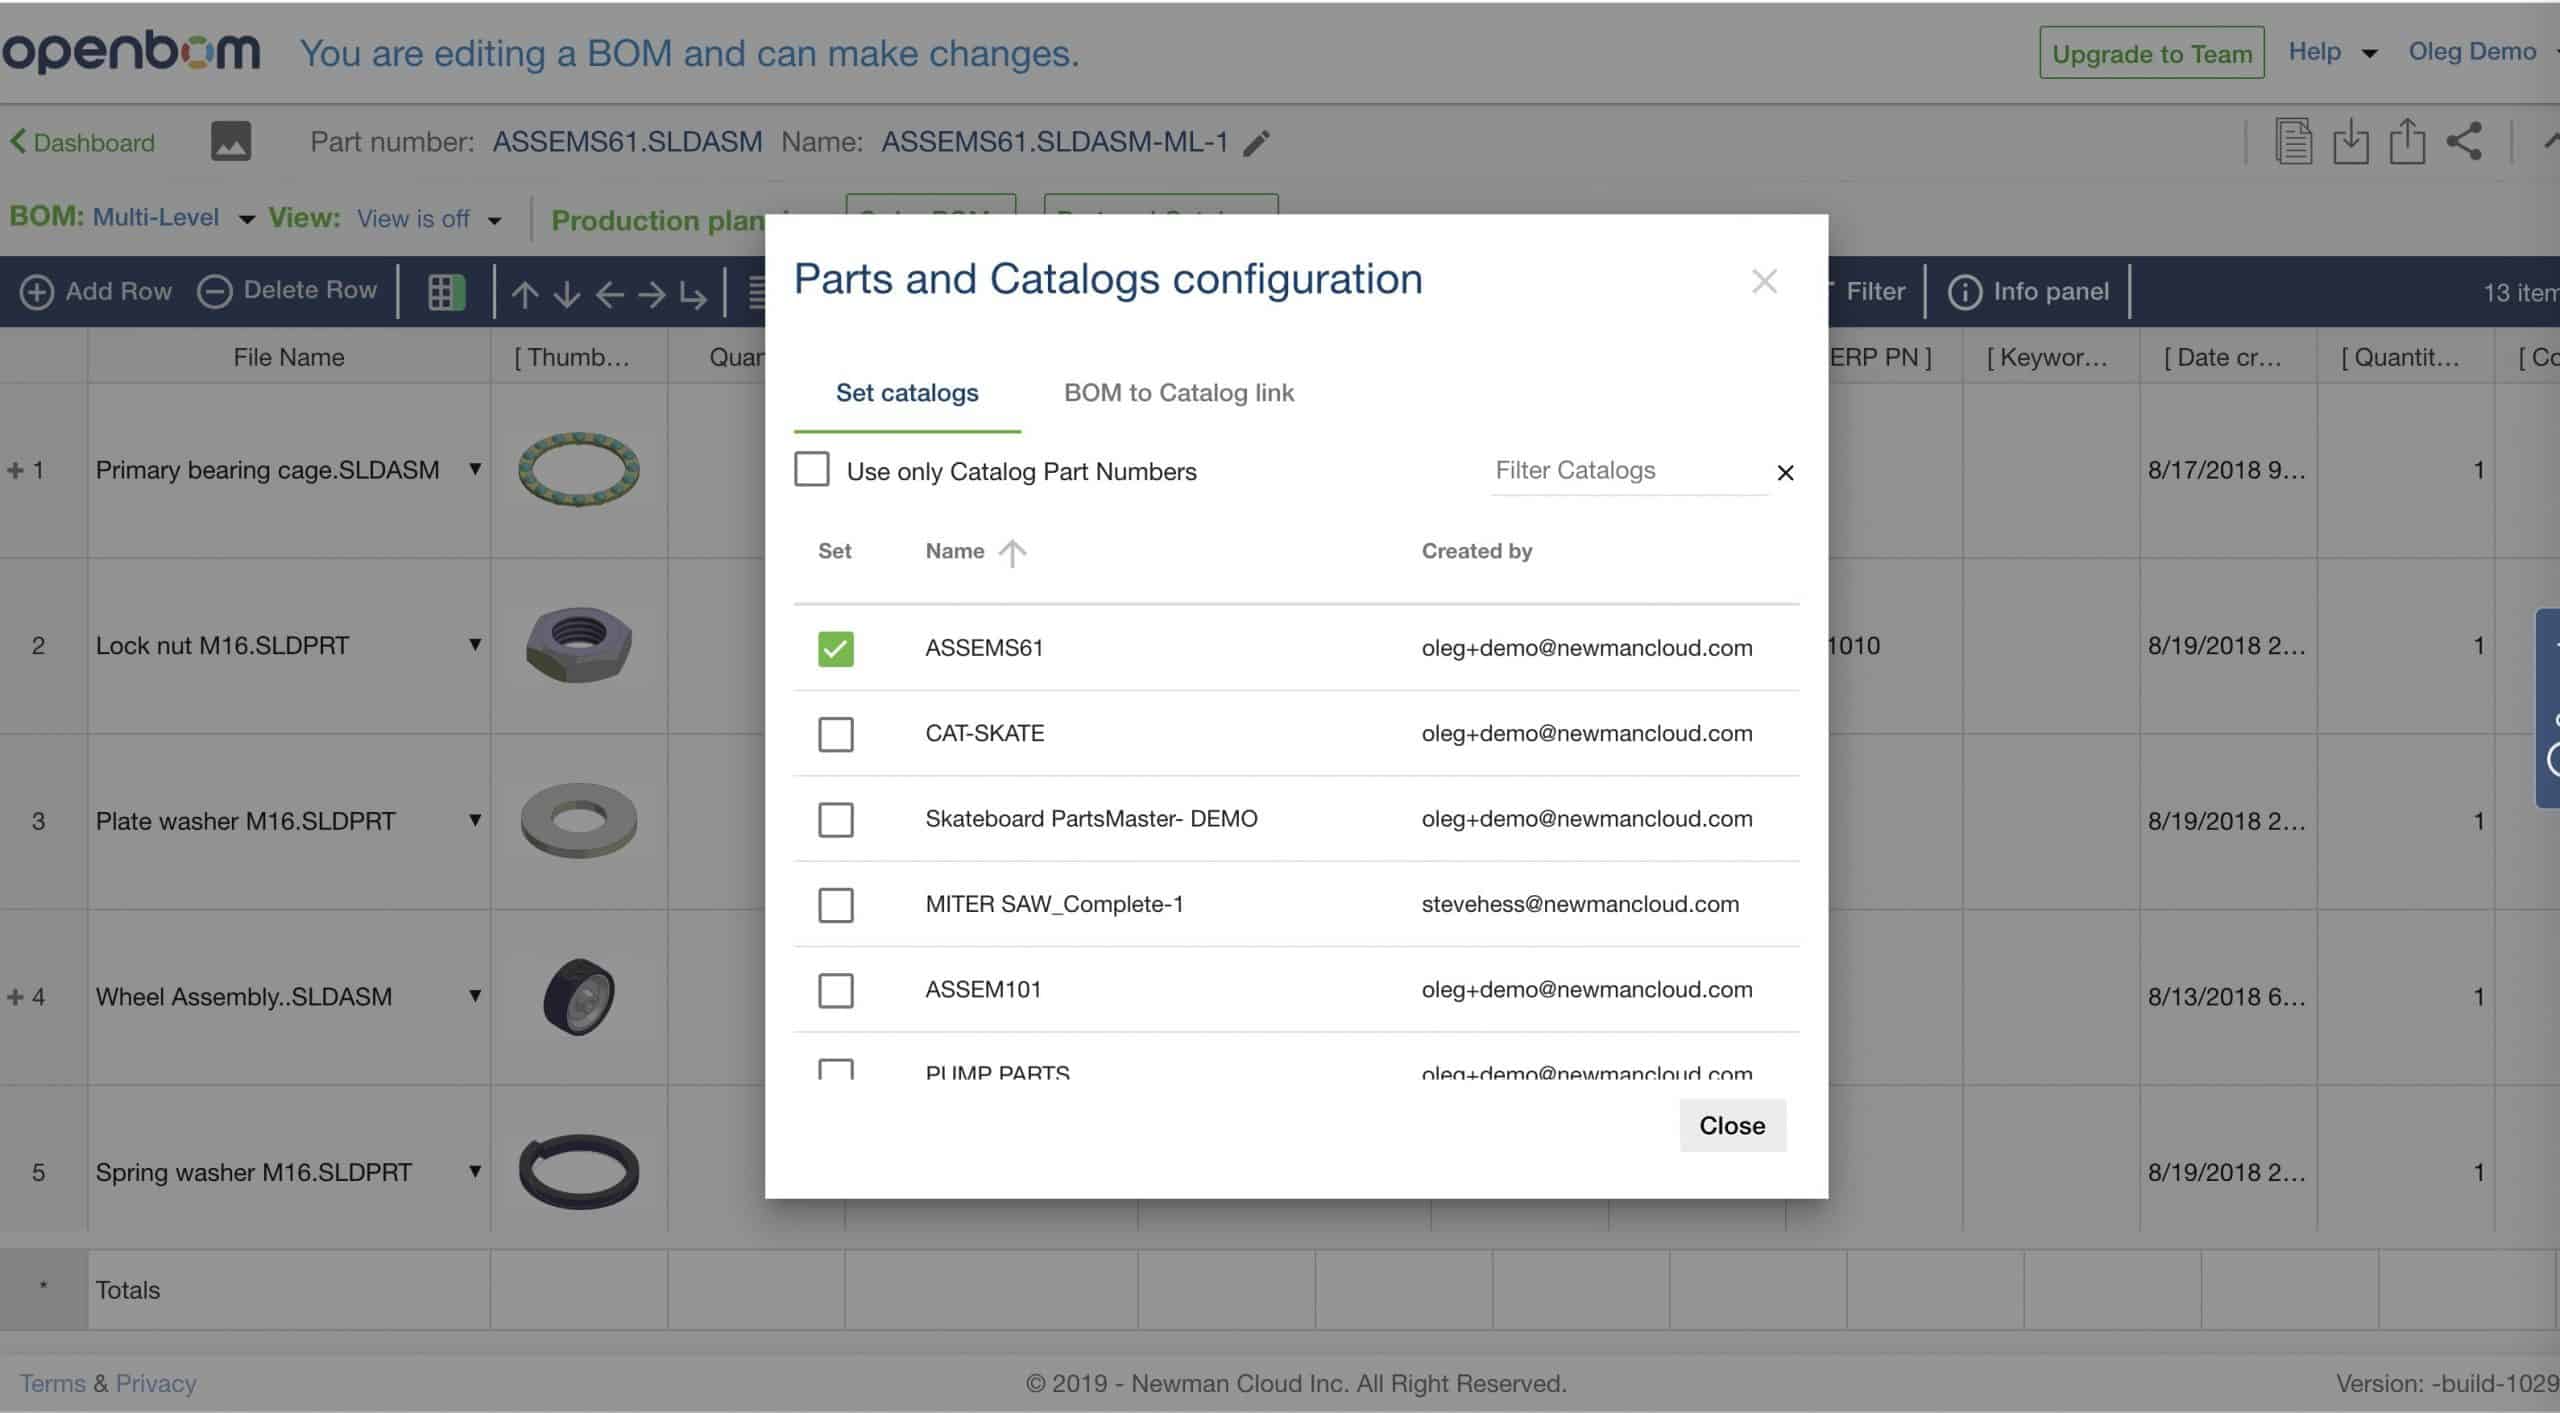
Configure BOM to catalog link (part number).
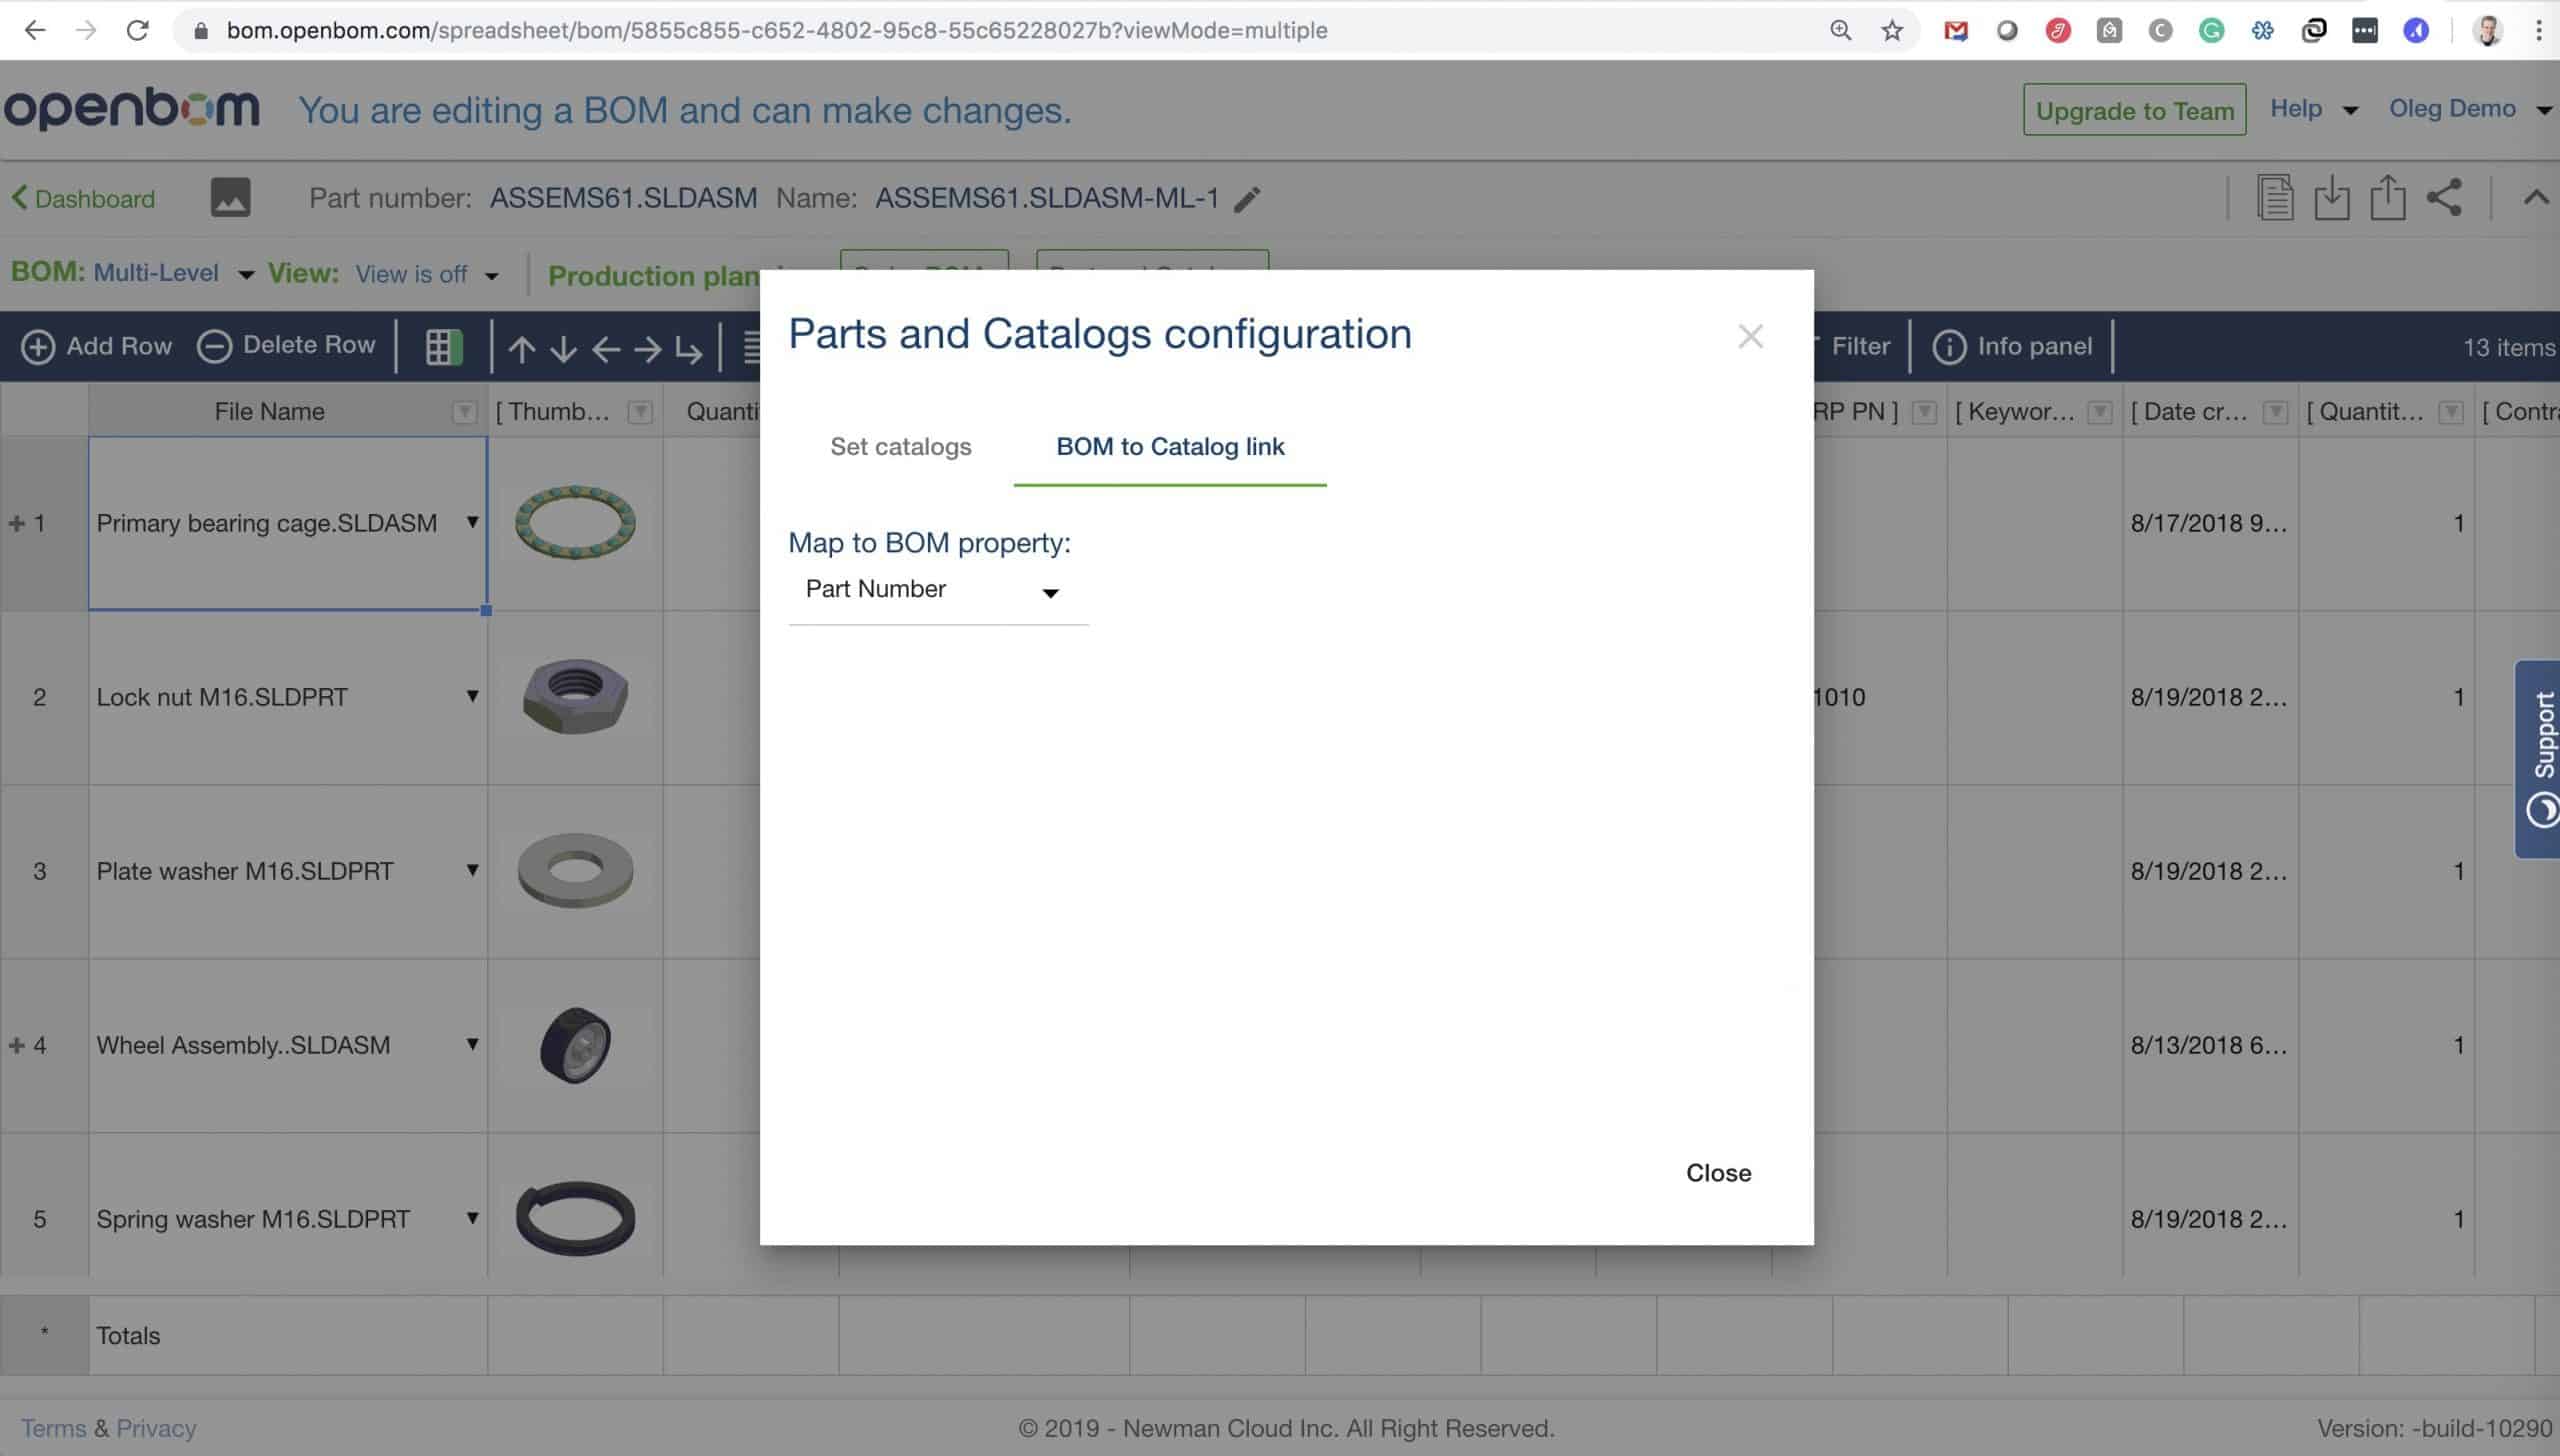
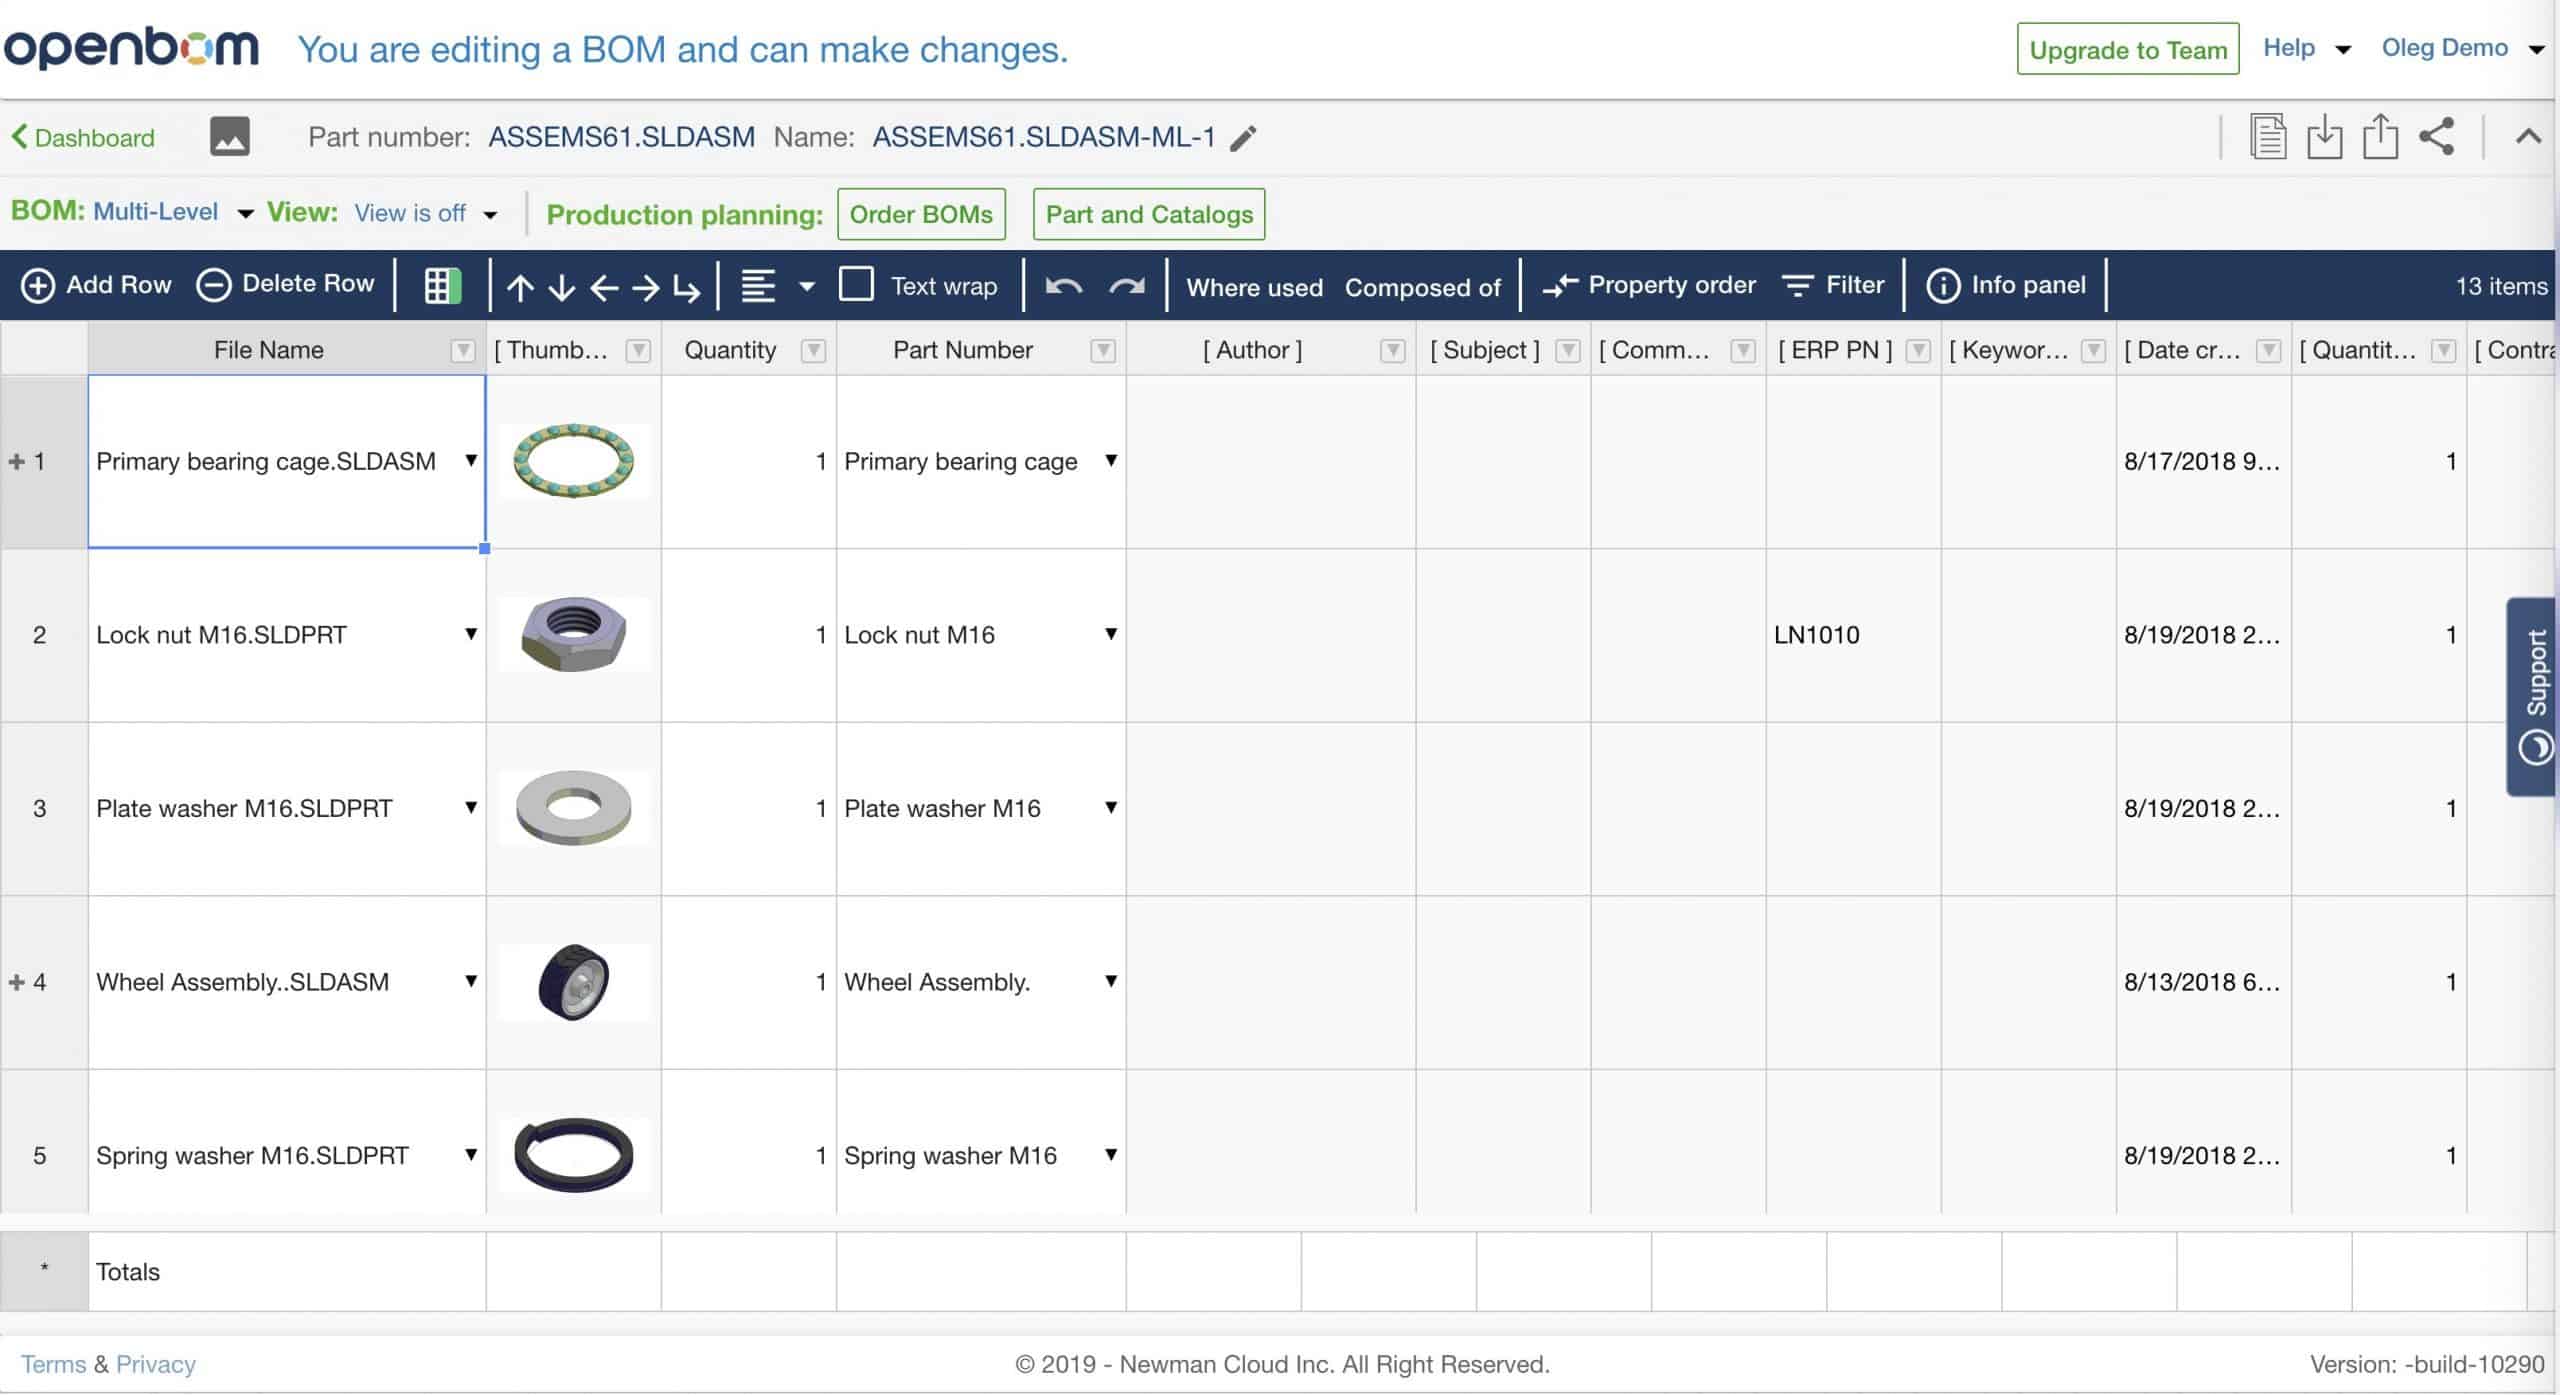
You’ve got a BOM connected with the catalog. You’re done!
Conclusion
These are steps to start using OpenBOM. We are continuously improving OpenBOM. In the coming releases, we are going to optimize the process of Catalog and BOM creation and configurations. Meantime, enjoy these quick 1-5 steps and please get rid of these pesky Excels.
Try OpenBOM today by registering a completely FREE OpenBOM user account here, no string attached.
Best, Oleg @ openbom dot com.
Let’s get to know each other better. If you live in the Greater Boston area, I invite you for a coffee together (coffee is on me). If not nearby, let’s have a virtual coffee session — I will figure out how to send you a real coffee.
Want to learn more about PLM? Check out my Beyond PLM blog and PLM Book website
Join our newsletter to receive a weekly portion of news, articles, and tips about OpenBOM and our community.

