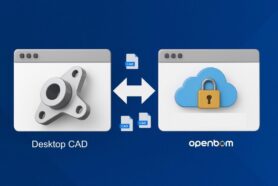
As you probably read earlier, OpenBOM introduced a new Design Projects functionality as part of OpenBOM’s Free Subscription. Design Projects is a simple yet powerful cloud PDM system that allows you to manage your CAD and other files with all revisions using OpenBOM cloud storage. You can sync data between your local folders and cloud projects. It is easy and simple.
In this blog today, I want to share 5 steps on how you can start using new Design Projects functions from the beginning. At the end of the article, you can find a demo video that shows how you can do so. All functions described below are free, you only need to register an account using OpenBOM.
5 Steps To Start Using Design Projects
OpenBOM allows you to create Design Projects and store files with associated metadata. Here are the steps you need to follow.
Register New Account
As a first step, you need to register a new account on openbom.com. It is free and only requires you to enter your email, some initial registration data, and password and you’re ready to go.
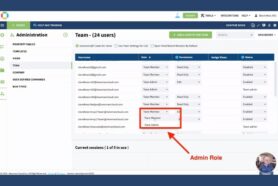
Registering a new account screen gives a way to put your personal information. Please note, if you want multiple users to have it, then you need to create a free account for the admin and then add more users using the admin dashboard.
Create A New Project
Once you get in, you need to create a new project using the Design Dashboard.
Download and Install Workspace Manager
To upload and download files from OpenBOM Design Projects, you need to use a local Workspace Manager. It allows you to upload the entire project including multiple folders and also will keep track of changes and allow you to upload and download files. Note: in the next update (end of October/2023), Workspace Manager will support a Smart Sync feature to automatically detect changes and keep your folders in sync.
Check-out Project
Each project has a Check-in/ Check-out functionality you need to use to start uploading data. Check-in also automatically creates a revision history for all files in a project.
Map a Project to a local folder and Upload Files
Use “Map” Workspace Manager function to configure a root folder for each Project. Use “SmartSync” function (recommended) to upload/download files automatically. The function will identify what files needs to sync from local folders to the cloud and vice versa (you can also use “Upload/Download” functions too if needed). Keep in mind that the Workspace manager will automatically upload all sub-folders with all files.
Demo Video
Watch the following YouTube video with the step-by-step instructions made in real-time. It took me 5 minutes from the registration on the OpenBOM website to install the OpenBOM Workspace Manager and start uploading your CAD files.
Technology, Data Modeling and Storage
From a data management standpoint, Design Projects are using the OpenBOM object model to create data records with attached files. They are part of OpenBOM’s flexible data model. If you want to learn more about the technology OpenBOM developed, check this article – OpenBOM flexibility, configuration, and customization.
Conclusion
A new OpenBOM Design Project feature is easy to use, simple, and free. This is an ideal choice for every engineer, team, or company that is looking to manage CAD files using cloud services. It provides you with an unlimited storage option and keeps track of all your files.
REGISTER FOR FREE and start using OpenBOM Design Projects today. If you have questions, contact OpenBOM support.
Best, Oleg
Join our newsletter to receive a weekly portion of news, articles, and tips about OpenBOM and our community.


