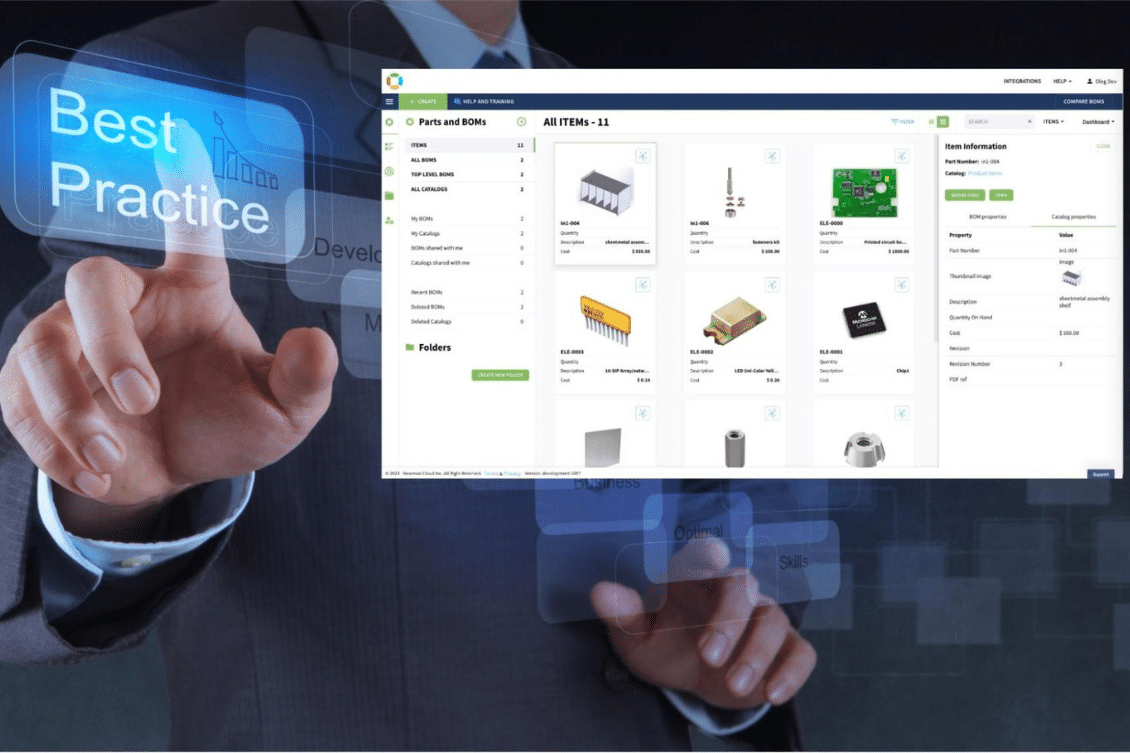
Creating a Bill of Materials is a central function every organization that designs and builds products need to do. The BOM serves as the DNA of a product, containing a list of parts, components, assemblies, and other information required to manufacture it. It’s like a complex recipe that defines your product, and as such, it should be carefully structured and maintained.
Everyone who starts using OpenBOM Creating a Bill of Materials (BOM) is an essential task for product managers, engineers, and production planners in various industries. OpenBOM, a collaborative BOM management software, offers a set of robust features designed to simplify BOM creation, organization, and management.
However, to maximize the benefits of this tool, it’s essential to follow certain best practices. At OpenBOM, we made this process as quick as doing it in Excel, but at the same time, we bring the power of structured data management to this process while keeping the user experience easy and simple.
In this blog post, we’ll discuss three crucial methods to follow when creating BOMs in OpenBOM:
- Starting from an Item to Creating a New BOM
- Including an Item to Another BOM to Create a Sub-level
- Adding an Item and Restructuring
This is the final BOM we will build in this example:
1. Starting from an Item to Create a New BOM
Item is a central element of the OpenBOM data model. If you missed my earlier blog, check this link – OpenBOM 3-minute Data Management Crash Course.
When starting with a new product, it’s always a best practice to start your BOM with the item of this BOM (assembly). OpenBOM allows you to easily start your BOM by creating a new item and defining its various properties such as name, description, SKU, unit of measure, cost, and supplier information. We will talk separately about defining attributes, but today the most important thing to remember is to create an item for every BOM you add to OpenBOM.
Once you created an Item, use the “OpenBOM Item’s BOM” command to create a new BOM and open it for editing (just 2 clicks). Then use Add item commands to add components to the newly created BOM. That’s it…
2. Including an Item to Another BOM to Create a Sub-level
For complex products that include various sub-assemblies or multi-level structures, it’s essential to accurately represent these sub-levels in your BOM. OpenBOM allows you to achieve this by including an item (which may have its own BOM) in another BOM.
This practice of nesting BOMs helps keep your product structure organized and understandable. It allows you to manage each sub-assembly as a separate entity with its own BOM, which can then be integrated into the main product’s BOM. It also helps with managing changes, as updates to a sub-assembly BOM can be carried over to the main BOM, ensuring consistency across your product data.
To add an existing BOM to another BOM and create a sub-assembly, just add an item of this assembly to another BOM. OpenBOM will create parent-child relationships and will connect these two structures together.
3. Adding an Item and Restructuring
There may be instances when you need to add an item to your BOM after it has already been created and to create a BOM from items that are already in the existing BOM but in a different “level”.
To do so, you can add an item to the BOM and then move existing items down using the BOM editing toolbar. By moving “Items down”, OpenBOM will automatically create a BOM for an item above and create a structure.
In the following example, I added a “fastener kit” item and then moved all fasteners that already existed in the BOM down level.
Video Demo
Watch the following video for a demo.
Conclusion
When creating BOMs in OpenBOM, remember that it’s not just about listing parts but accurately defining all items (with all attributes) representing the product structure and ensuring the BOM is manageable and scalable with revisions and all connected information (specs, files, etc).. The important 3 best practices are to start from an item, build modules (BOM) and re-use them in other BOMs, make restructure where needed from existing components to create a sub-level BOM. Following these best practices will help you achieve a structured, accurate, and efficient BOM.
Want to practice? REGISTER FOR FREE and start BOM-ing right away.
Best, Oleg
Join our newsletter to receive a weekly portion of news, articles, and tips about OpenBOM and our community.


